
The quick-view will give you further details and options to handle issues.
Create invoice - button
This button will not show, if an invoice has already been created.
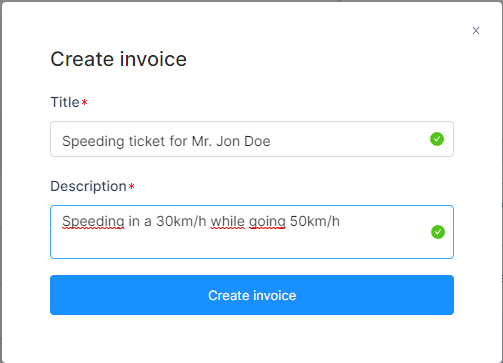
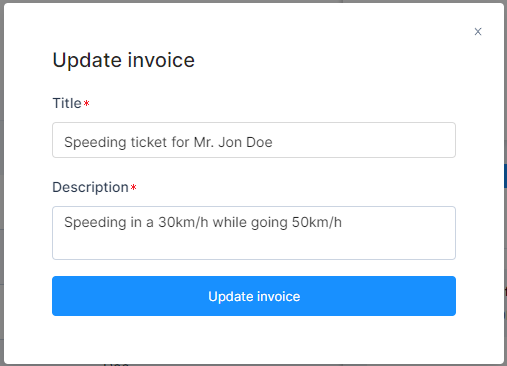
Click the button to open the form which will ask for a title and a description. An example is shown below.
Note
Title and description will be displayed on the invoice that will be issued.
Example of an invoice:

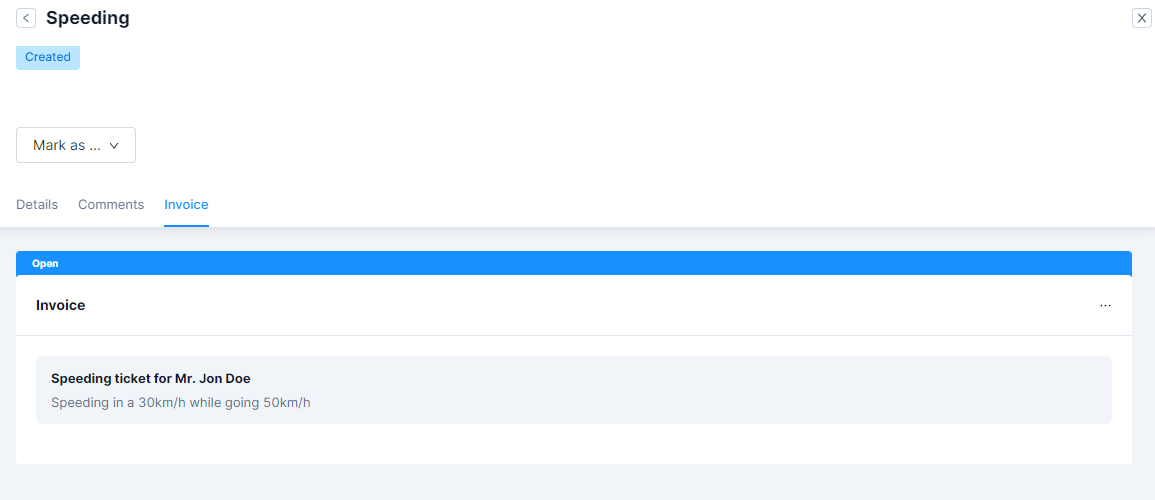
As soon as the invoice has been created, the invoice template shows in the Invoice tab of the quick-view.
Mark the invoice
To sort the issues better and keep a clear overview, you can mark the invoices in four different states:
- Created
- Closed
- Waiting
- In_Repair
Details
ID
The issue ID is shown here.
Title
Shows the title of the issue.
Category
The category of the issue can be changed according to the dropdown menu.
Deposit
If there has been a deposit to the rental, it will be shown here e.g. 250 EUR.
Description
As this field is optional, it can be filled out still, when opening the issue through the overview table and after the issue has been created.
Rental
A link is displayed to the rental the issue is related.
Vehicle
A link is displayed to the vehicle to which the issue is related.
Customer
A link is displayed to the customer to which the issue is related.
Create by
A link is displayed to the user who created the issue.
Created on
A time and date stamp is shown of the moment the issue has been created.
Comments
Add a comment and attach a file.
Invoice
This tab only shows if an invoice has been created.
Once an invoice has been created, it shows as Open and a blue bar. You can then see the title and description that have been entered while creating. By clicking on the title or description, you can change and update the title and description.
By clicking the three dots on the side, it is possible to add an item to the invoice. The item can be, in case of a parking problem, the fine number of the municipality or a date. In case of damage, it can be the part that has been damaged. See the picture below for reference.

When adding an item, a new form opens which again asks for a description. This description is the line item name e.g. the number of the municipality or a damaged part.
Then you will also be asked to enter the net price and tax percentage of the item you enter. After doing so, click on Add invoice item to attach the item to the invoice.
After adding an item you can add as many items as you want and will see them listed in the preview with the respective net amount and tax percentage.
By clicking on the line item after it has been added you can change and update the item.
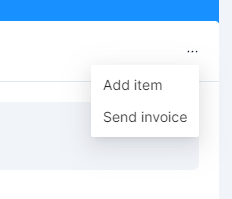
Once an item has been added you can send the invoice to the user by clicking on the three dots used previously. For example please see the picture below.

By clicking on Send invoice a form will open where you can type in an email message. Once you click Bill invoice you cannot change or update anything on the invoice. The status bar of the invoice will change from blue - OPEN to green - PAID.
Now it is possible to view and download the pdf document that has been sent to the customer of which the issue was attached to, by clicking again on the three dots. Additionally, you can refund the invoice on the three dots.
See the picture below:

Use case and example
The issues feature can be used for a variety of functionalities. However, the main functionality give the operator the possibility to manage an issue that occured before, during or after a rental.
This is also the intended functionality, how Issues have been designed by goUrban.
For a better understanding, see some real life examples below:
Speeeding ticket
Speeding tickets are a common fine that is issued to drivers in any country around the world. However, the legislation is different in every country and sometimes even down to municipality level.
In most cases, the operator will receive the speeding ticket and has to pay it to the municipality/government and has then the possibility to collect the money from the end user (we will now cover this use case).
- The speeding ticket arrives via mail or electronically at the office of the operator.
- The speeding ticket states the location and date & time of the speeding.
- Example speeding: 14.06.2023 at 14:11h CEST in city center. 50km/h instead of 30km/h.
- If the license plate is stated on the speeding ticket, filter also for this in the rentals page.
- The operator opens the dashboard and searches for the rental
- clicks on the Rentals page
- Filters the State for Ended
- Filters the End Time to the date of the speeding (Limitation of the goUrban dashboard, where it is not possible to filter exactly for the time, but only the date)
- Sort ascending End Time
- The operator then most probably has to check one or two rentals manually to see which rental is the affected one.
Caution: Compare the location data from the speeding ticket!
- After selecting the respective rental, open the rentals quick-view
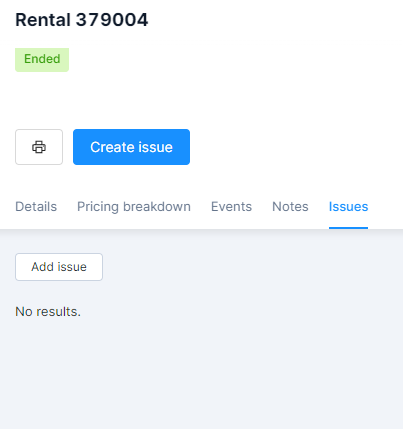
- Create an Issue (See picture below for reference)
- Either via the button Create Issue
- Or click on the Issue tab and then on the button Add Issue
- A dialogue window will open and the rental ID is pre-filled

- Select the category Fine from the dropdown
- Fill out the rest in a meaningfull way
e.g.
- Click Create issue
- The Issues quick-view opens automatically and further information can be input.

- In the Comments tab the operator can leave a comment about the speeding and upload the file from the police for reference
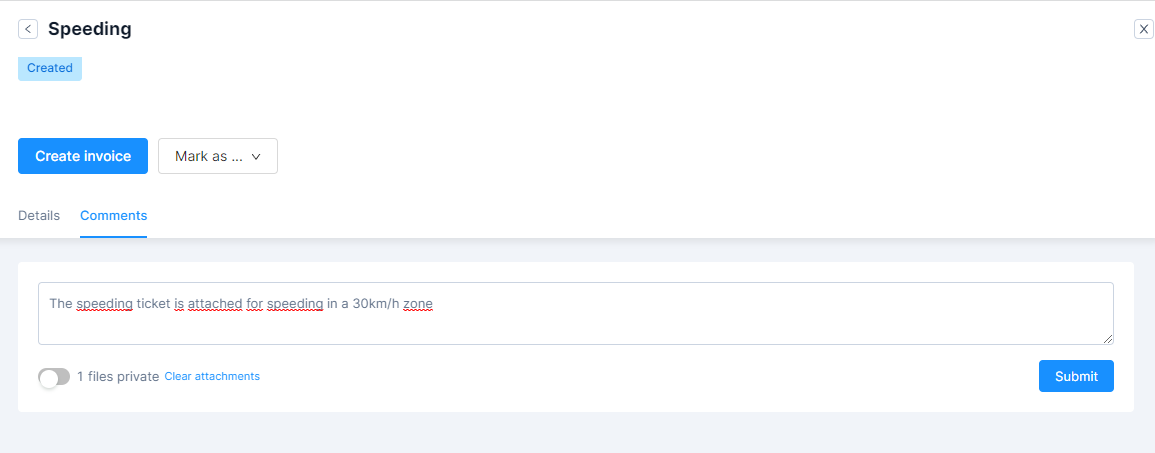
- Via the button Create Invoice a new dialogue window opens, where the operator enters the title and description of the invoice
- A new tab appears Invoice. The invoice can be accessed via this tab at any time.
- When clicking on the grey bar with the before entered Title and description, the operator can edit such
- When clicking on the three dots symbol on the right side of the Invoice tab, the operator can create the line items.
Please enter decimals with a dot.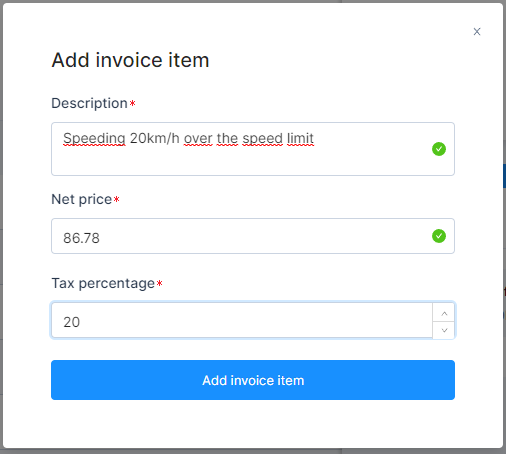
- The newly created line item with net price and tax appears in the overview. The gross amount is calculated automatically.

- Now the operator can send the invoice to the end user, by clicking again on the three dots symbol on the right
- A new dialogue opens and the operator can bill the invoice to the end user. The invoice will be sent via email.
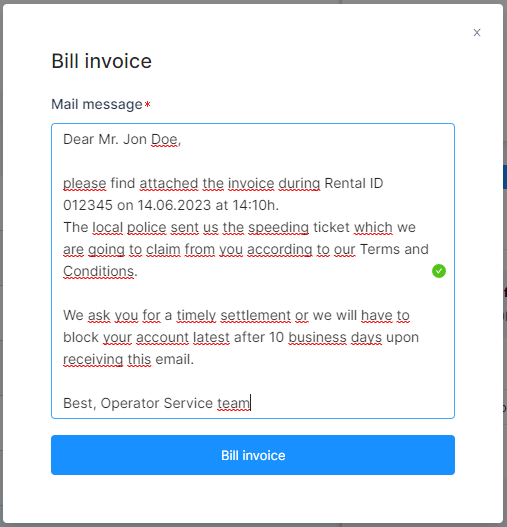
- After clicking Bill invoice the status bar will change the color from blue to purple and the invoice can be downloaded from the three dots symbol.
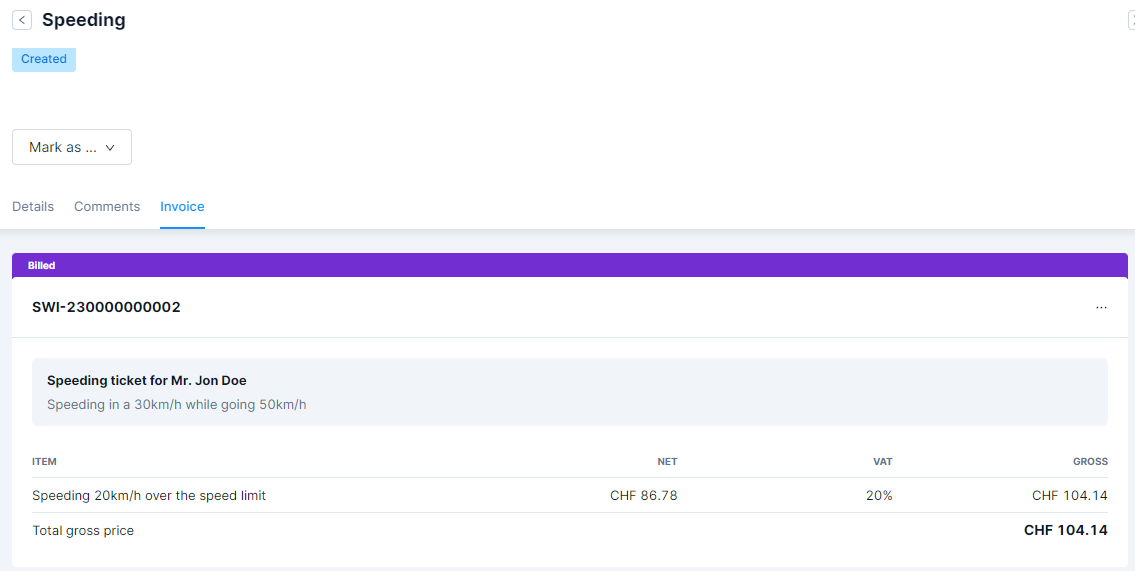
- See the example invoice that has been sent to the end user below.
Please note, that the invoice can be configured and translated in the Localization tab
Parking issue
Damage during the rental
Fraudulent behaviour of the driver