
A point of interest is a pin in the end-user app map, which gives information to the user about something that can be of interest to him.
This can be a parking spot, touristic place, charging station, gas station, business, etc.
By clicking on the point of interest, the user can get details of that point of interest, and directions to it.
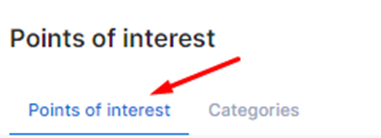
In the dashboard, when the point of interest plugin is active, you will have a new option in the dashboard side menu, where you can see and configure the points of interest. The pin for this option will look like this:

Categories
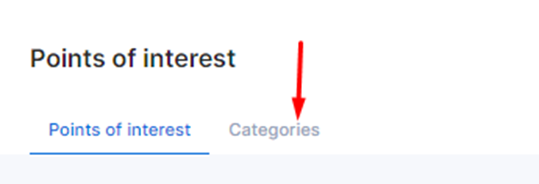
The first step is to create a point of interest category. This is needed so the app knows which kind of point of interest it is, so we know what info and options to display. To do so, once you open the POI page, select the category tab:
Creating a category will give you the option to customize the text and image of the POI category. This means that every point of interest created under this category will have the same image and description. This is specifically useful for POIs where a lot of them exist without any change in image or description (parking spots, charging stations....).
Once you press the ‘Create new category’ button you will receive a pop-up like this:
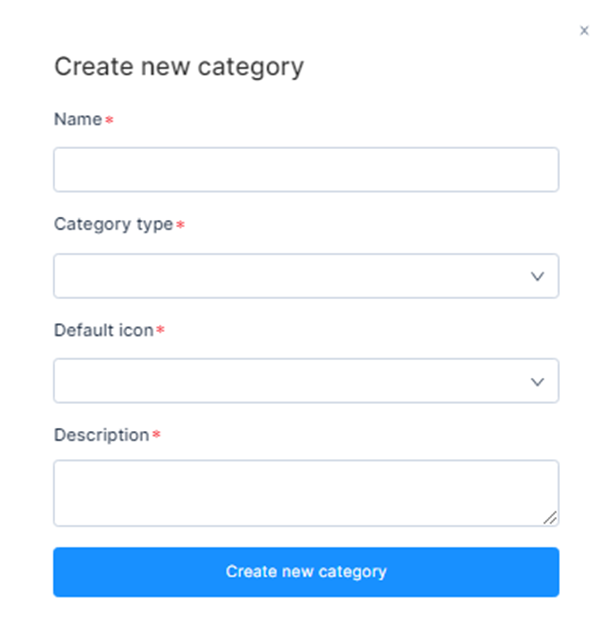
Once you fill this out, the category will be created and you can access the quick view. The quickview has further additional options and two tabs:
- Details
- App
Details:
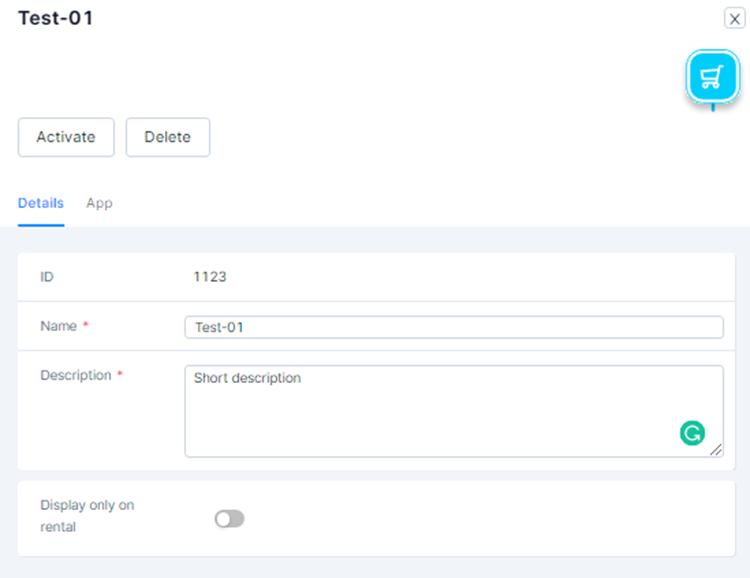
Here you can see the ID of the Category, see and change the Name and Description, and decide whether or not the Category (POI) will be visible during a rental or at all times.
App:
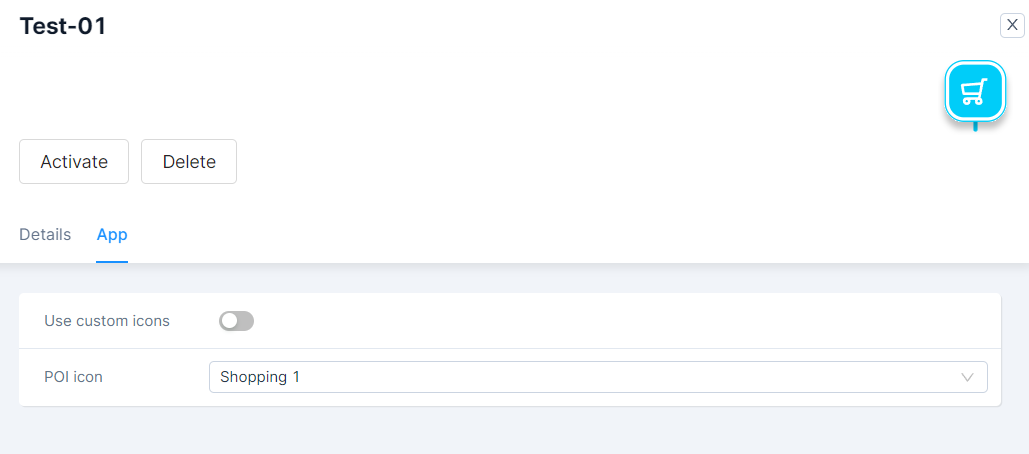
Here you can decide whether to use basic or custom icons.
Additionally, in the Quickview you can decide to activate/deactivate the Category or delete it.
Point of interest:
Please note that when you are creating a POI, you also have the option to customize this specific POI. This overrides the image and description that are defined in the Category used for the POI.
When clicking the 'Create new point of interest' you will be shown this pop-up:
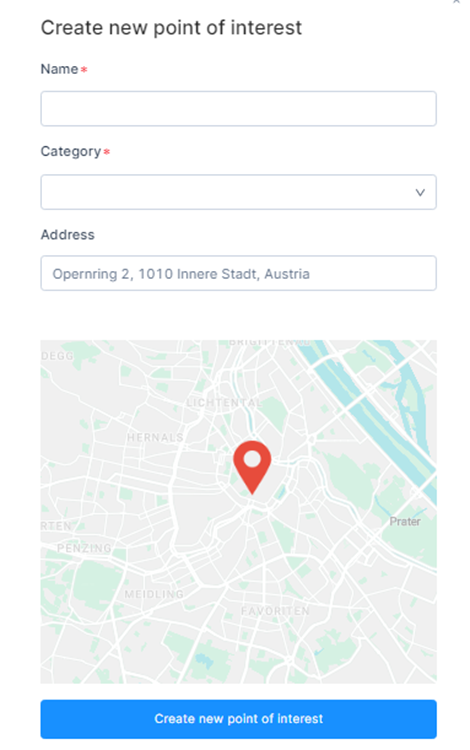
Here you can define the name of the POI, add a previously created Category and add the address/location of the POI. Once it is created you are able to select the POI and open its quickview which will also have the Details and App tabs.
Details:
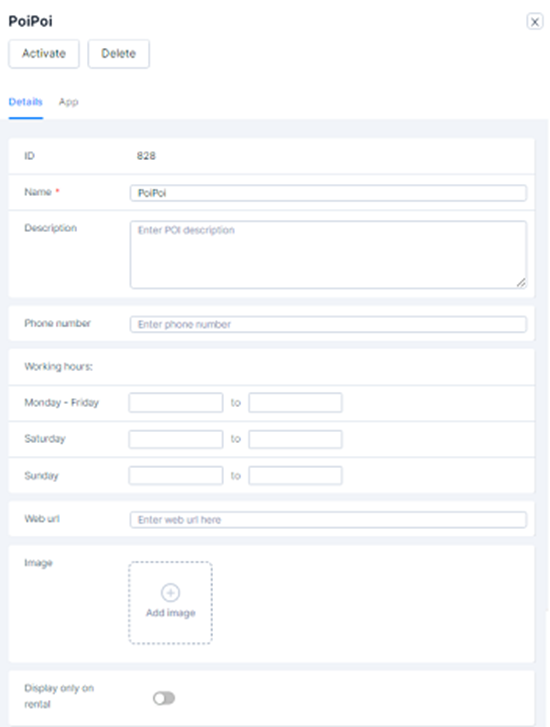
Here you can see the POI ID, see and change the Name, Description, Phone number, Working hours, Web URL, and Image of the POI. Please note that you can only have one image of the POI.
Similar to the Category you can also decide whether or not the POI will be only visible during a rental or at all times.
App:
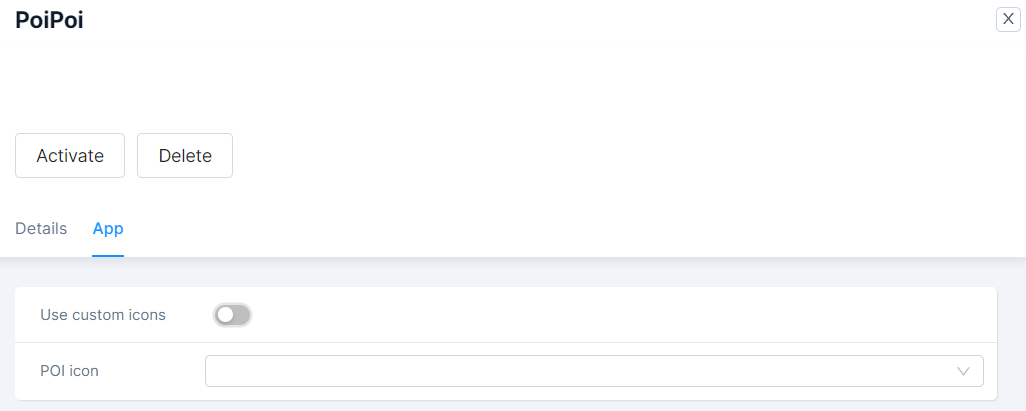
Here, as with Category, you can decide whether to use basic or custom icons.
Please note that these settings will always override the settings defined by the Category.
Additionally, in the Quickview you can decide to activate/deactivate the POI or delete it.